
Last Updated: 1 November 2026
Quick Summary
Yes, the knx home assistant integration lets Home Assistant read and control KNX devices on the bus, so lighting, blinds and climate appear as entities alongside other smart-home devices. A KNX IP interface or IP router is needed to bridge the twisted-pair bus to your Ethernet network before configuration begins.
- The integration works in both directions, sending commands to the bus and receiving state back from it.
- Confirm bus voltage and check existing devices in ETS before buying any hardware.
- Choose tunnelling for small installations and routing for larger, segmented buses.
- Ensure datapoint types in Home Assistant match those in your ETS project to avoid incorrect values.
- Test one device first, then add remaining devices in batches to isolate faults.
Table of Contents
- What the KNX Home Assistant Integration Does
- Hardware You Need: KNX IP Interface Home Assistant Options
- Home Assistant KNX Configuration Step by Step
- Setting Up Group Addresses and Datapoint Types
- KNX Home Assistant Expose: Sending Entity States to the Bus
- How to Control Home Assistant Devices with KNX
- Troubleshooting Your Connection and Keeping It Reliable
- Booking a Commissioned KNX and Home Assistant Setup
- Frequently Asked Questions
What the KNX Home Assistant Integration Does
A question that comes up often is whether a KNX installation can be brought into Home Assistant. The short answer is yes. The KNX integration in Home Assistant lets the platform read and control KNX devices on the bus, so lighting, blinds, climate and other circuits appear as entities you can automate alongside devices from other smart-home systems.
Home Assistant describes its KNX integration as a way to unify KNX devices with other smart-home devices in one place (Home Assistant, “Home Assistant collaborates with KNX”). That matters because most real homes mix brands. The practical benefit is a single dashboard and a single automation engine, rather than separate apps for each subsystem.
The integration works in both directions. For a developer-focused guide to KNX integration, commissioning tools and design practice, see KNX home automation guide for developers. Home Assistant can receive state from KNX group addresses and send commands back onto the bus. Two-way communication is what separates a useful integration from a simple remote control, because the interface stays accurate when a wall switch is pressed locally.
Hardware You Need: KNX IP Interface Home Assistant Options
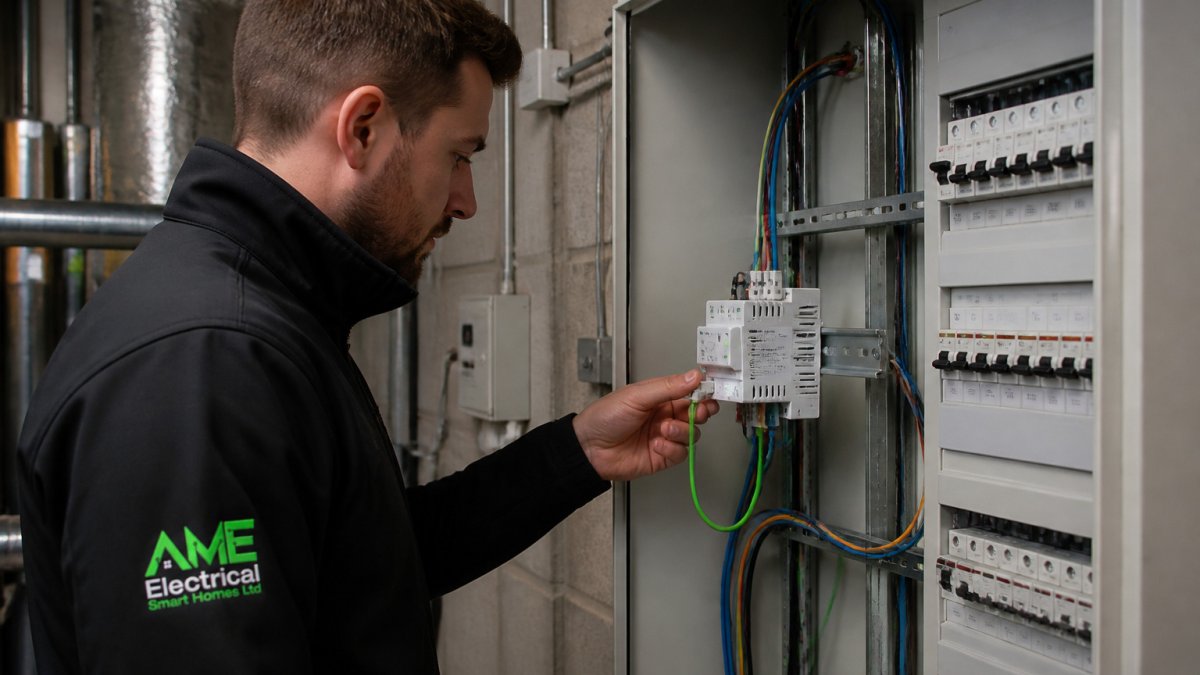
Home Assistant does not talk to the KNX bus directly from a standard network port. You need a bridge. In most installations this is a KNX IP interface or IP router, which connects the KNX twisted-pair bus to your Ethernet network so Home Assistant can reach it over KNXnet/IP.
A community discussion on the Home Assistant forum makes the same point: connecting Home Assistant to a KNX network generally requires a KNX IP gateway (Home Assistant Community, “KNX vs anything else – Configuration”).
Before buying anything, confirm three things:
- The bus is powered and healthy. Measure bus voltage at the installation and check that your existing devices are visible in ETS.
- Your network can carry the traffic. Keep the interface on a stable wired connection, ideally on the same subnet as Home Assistant.
- You have the group address table. Without an accurate ETS project file, you will spend hours guessing which address controls which light.
Hardware choice is a balance of cost, reliability and expansion. A standalone IP interface suits a small installation with a few circuits. An IP router suits larger systems where several bus segments need to be linked.
Choosing Between an IP Interface, an IP Router and Tunnelling
The three options differ in how they connect and how many devices they serve.
| Option | Best For | Connection Type | Typical Use |
|---|---|---|---|
| IP interface (tunnelling) | Small or single-bus installations | Point-to-point KNXnet/IP tunnel | One Home Assistant instance, a handful of circuits |
| IP router | Larger or segmented buses | Multicast routing over Ethernet | Multiple bus lines, many devices |
| Direct USB or serial bridge | Bench testing only | Local serial | Not recommended for permanent installs |
Tunnelling is the simplest option to commission. The interface opens one connection and relays telegrams, which suits most homes. Routing scales better but depends on your network supporting multicast traffic, so check your switch and router settings before committing.
Watch out: a router that is not configured for multicast will appear to work for some devices and silently drop others, which is hard to diagnose later.
Home Assistant KNX Configuration Step by Step
Configuration happens in two places: your KNX project in ETS, and the KNX integration in Home Assistant. Keep the ETS project file as the single source of truth, because every group address and datapoint type you enter later must match it.
- Install the KNX integration. Open the Home Assistant settings and add the KNX integration from the integrations list.
- Select your connection type. Choose tunnelling or routing to match your interface, then enter the interface’s IP address and port.
- Load the ETS project. Upload your ETS project file so Home Assistant can read the group addresses. If you do not have one, you can add entities manually, but this is slower and more error-prone.
- Test a single device first. Switch on one light from Home Assistant and confirm the physical output responds. Then confirm the state returns to Home Assistant.
- Add remaining devices in batches. Bring in lighting, then blinds, then climate. Testing in groups makes faults easier to isolate.
Setting Up Group Addresses and Datapoint Types
Every KNX device communicates through group addresses, and each address carries a datapoint type (DPT) that defines the format of the value. A switch uses a boolean datapoint, a dimmer uses a percentage, and a temperature sensor uses a floating-point value. If the datapoint type in Home Assistant does not match the one in ETS, the entity will show incorrect values or no values at all.
The most common mistake we see is a mismatch between a dimmer’s percentage datapoint and a switch datapoint on the same address. The light turns on but the brightness reads zero. Check the datapoint for each entity against the ETS documentation before troubleshooting anything else.
Keep a written map of group addresses, names and datapoints. It saves time whenever you add an automation or replace a device.
KNX Home Assistant Expose: Sending Entity States to the Bus
Expose works in the opposite direction to normal control. Instead of KNX driving Home Assistant, Home Assistant pushes its own entity states onto the KNX bus, so other KNX devices can react to them.
The Home Assistant documentation describes the exposure as a way to send an entity’s state or attribute to a KNX group address (Home Assistant, “Expose to KNX bus”). This is useful when, for example, a presence sensor in Home Assistant should trigger a KNX hallway light, or when an outdoor temperature from a weather service should feed a KNX climate controller.
Set expose entries carefully. Each exposure needs a group address that no physical device is already using for the same purpose, or you risk two sources fighting over one value. Use a dedicated range of group addresses for exposed values so they are easy to recognise in ETS.
How to Control Home Assistant Devices with KNX
Controlling Home Assistant devices from KNX lets wall switches and KNX panels operate things that live outside the bus, such as smart plugs, media players or lights from another ecosystem. Home Assistant acts as the bridge: it exposes the device as a KNX group address, and a KNX pushbutton sends commands to that address.
The workflow is to create the exposure in Home Assistant, assign a group address, and then program the physical pushbutton in ETS to send to that address. Test each function from the wall first, then confirm that the Home Assistant entity reflects the change.
Two-way feedback is what makes this reliable. A pushbutton should reflect the true state of the device, so when someone turns a lamp on from a phone app, the status LED on the wall plate updates too. Without state feedback, users quickly stop trusting the system.
Starting with lighting before moving to more complex devices is a sensible approach, because lighting gives fast, visible results and exposes any problems with group addresses early.
Troubleshooting Your Connection and Keeping It Reliable
Most connection failures fall into a few categories: wrong IP address or port, a network that blocks the KNXnet/IP traffic, or an interface that has lost its configuration. Start by pinging the interface from the Home Assistant host, then check that the interface is reachable on the expected port. For step-by-step fault-finding, from bus voltage checks to ETS diagnostics and IP interface faults, see how to troubleshoot KNX home automation systems.
If entities appear but do not update, the usual cause is a datapoint mismatch or a group address that was typed differently in Home Assistant and ETS. Re-export the ETS project and reload it rather than editing values by hand.
Reliability also depends on how you change the system. Back up your ETS project and your Home Assistant configuration before every significant change. Make one change at a time, test it, and record it. Restore points save hours when a configuration update goes wrong.
Keep firmware on the interface and Home Assistant up to date, but read release notes first, since KNX changes between versions can affect how entities behave.
Booking a Commissioned KNX and Home Assistant Setup
A commissioned installation means someone has tested every circuit, verified every datapoint and confirmed that state feedback works before you start relying on the system. For most households the time saved and the faults avoided can be worth the cost of professional commissioning, particularly when the project includes security, climate or access control.
Pricing depends on the number of circuits, the age and layout of the property and whether an ETS project already exists. For a quote tailored to your home or business, get in touch with AME Electrical directly. You can also find a professional KNX installer in Ireland. To see how a system audit is arranged, read our seven-step guide to booking a smart home audit.
Frequently Asked Questions
How do I connect KNX to Home Assistant?
Connect the KNX bus to Home Assistant through a KNX IP interface or IP router on the same network. In Home Assistant, add the KNX integration, choose the connection type that matches your hardware, and enter the gateway address. Then import your group addresses from the ETS project file, or add them manually, so Home Assistant can read and write the devices already installed on the bus. Test a single light or switch first before adding the rest.
What KNX interface do I need for Home Assistant?
For most installations you need a KNX IP interface (tunnelling) or a KNX IP router. A tunnelling interface suits small systems with a single connection, while a router suits larger installations and multiple clients. Check that the device supports KNXnet/IP and is compatible with your existing bus. Your installer can confirm which model fits your topology before you purchase, since prices depend on the model, quantity and delivery.
Can Home Assistant control KNX devices?
Yes. Once the KNX integration is configured, Home Assistant can switch lights, dim circuits, set blinds and read sensor values on the KNX bus. Entities can be used in automations, dashboards and voice control. Two-way control works because Home Assistant also receives state feedback, so a switch pressed on a wall panel updates the dashboard in real time.
How do I troubleshoot a KNX connection in Home Assistant?
Start by confirming the IP interface is reachable on the network and that the gateway address is correct. Check that the group addresses match the ETS project, and that datapoint types are set correctly for each entity. Review the Home Assistant logs for connection errors, and use the KNX monitor to see telegrams passing on the bus. Most faults trace back to a wrong address, a datapoint mismatch or a network segment blocking KNXnet/IP traffic.
